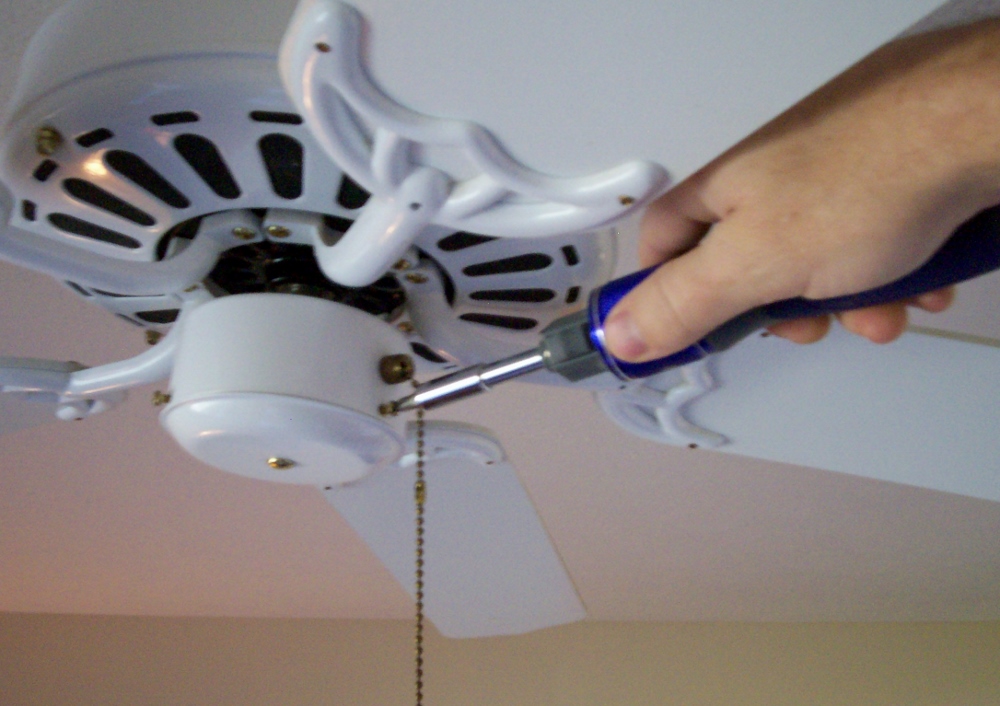
Screw the light assembly onto the center plate of the fan ensuring it is firmly attached. Thread the main wires through the center of the mounting bracket.

How To Install A Hampton Bay Ceiling Fan Light Kit Hampton
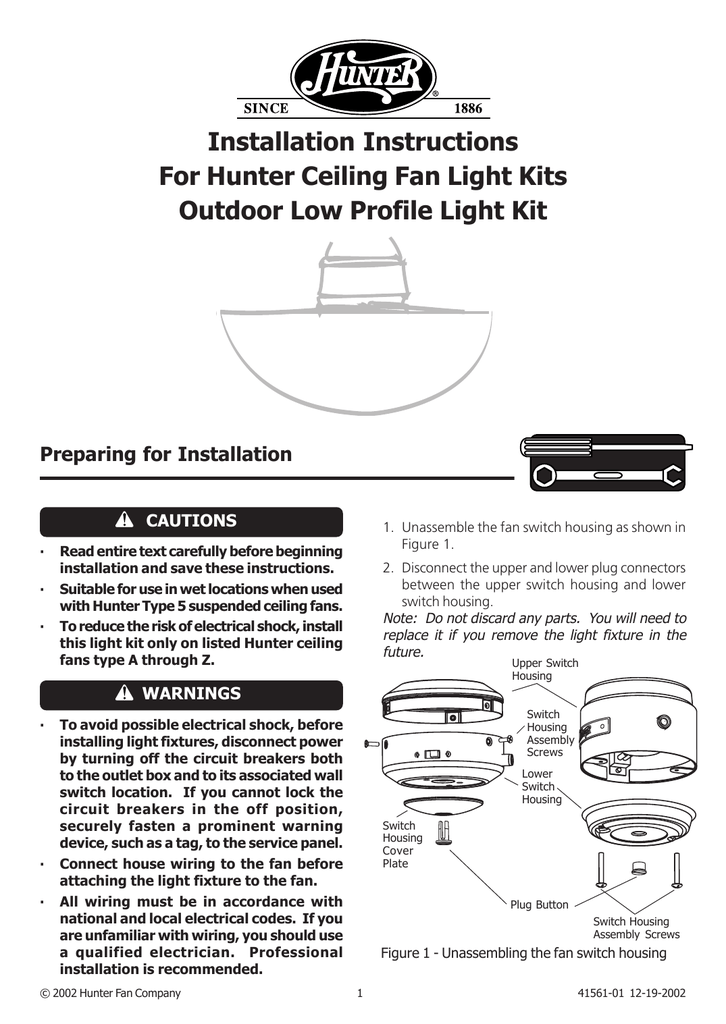
How to install a ceiling fan light kit. Attaching a light fixture onto a ceiling fan 1. If the fan has a slide on bracket you can leave the mounting bolts on the junction box and simply slide the fan bracket. Be sure to keep track of the parts you are removing. Feed the light kit wires from the light kit through the hole in the cover plate and screw the plate tightly to the light kit to prevent it from vibrating loose. Install light bulbs shades and pull chains as instructed by the manufacturer. Remove the switch housing cover plate from the fan and remove the plug from the center of the plate.
How to install the hampton bay 4 light universal ceiling fan light kit duration. Unscrew the cap hiding the wires and set it aside. Step by step instructions for assembling and installing a ceiling fan with light kit. Always be sure to follow the manufacturers instructions. Install the ceiling fan glass shades tighten the thumb screws to hold the shades. Turn on the power breaker at the main panel and shazaam.
Re attach the center plate to the fan body replacing the screws that hold the center plate in place. Connect the light kit to the bottom of the switch housing with the light kit screws that came with the ceiling fan. In this video i remove and old ceiling fan and replace it with a new hampton bay ceiling fan with light kit. Next secure the mounting bracket to the box. Since my fan light kit attached directly to the light housing cover it just took three screws to attach to the fan. Once they are secure stuff them into the fan housing and attach the light to the fan.
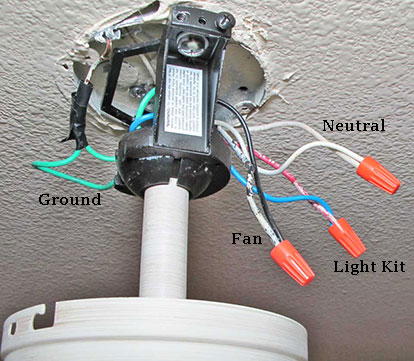
Use a circuit tester to verify that the power is off. Turn off the circuit breaker that controls the power to your ceiling fan. Connect the lights. How to install ceiling fans 43647 views. Between the time you assessed whether you.
Gallery of How To Install A Ceiling Fan Light Kit